Earth Day is great for discussing with kids what can be (or used to be) found on Earth, why it is there, and what can be done to protect it. I only wish more people did that regularly, instead of limiting it to some one-day activity, and while there are lots of fun Earth Day ideas, most don’t seem effective unless related to something you will do, or at least use, on a regular basis. So I thought of a different kind of project, the one that would encourage us to have more Earth Days on our calendar of activities.
The Green Box
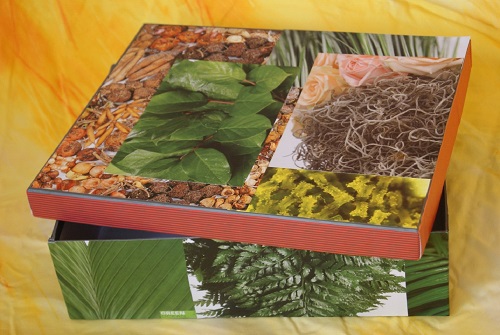
As much as I’m fond of organizing things nicely, but still tired of coping with a tornado of objects being scattered around daily (most parents are familiar with that natural phenomenon), it’s not surprising I would come up with something like this. The Green Box originally was what shoes came in, but with some glue and pictures cut out of magazines, a box can be turned into a work of art. Besides being decorative and symbolic, it can hold all those treasures of natural origin you and your kids collect during walks or holidays: stones, twigs, acorns, seashells, etc.
If you have shoeboxes of different sizes, you can simply place the smaller ones into the biggest, so that your storage space is neatly divided into several parts for sorting these art and craft materials. Just made sure I could snap a photo of it before it starts overflowing and we will probably have to make another “treasure chest”:
Any small bottles or containers we plan to re-use also belong there, along with loose buttons, toy parts, or other odds and ends that inspire some decoration or construction ideas. Instead of being discarded or scattered, they go to the Green Box now – so natural and recyclable materials share a home. Before, all these things could be found on any shelf, among toys, next to books or clothes, and almost anywhere around the house. I was quite patient and tolerant about their invading every possible space, and even tried to gather them into some biscuit containers, but whenever something ended up broken or lost, I was often blamed for throwing out a unique value. Now such objects have a new green home, and a definitely brighter future.
Read also – 10 Ways to Teach Children to Be Eco-Conscious
Where ideas live
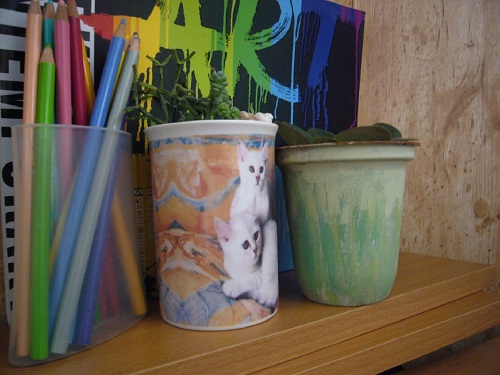
Green is symbolic, but this or any other color doesn’t have to dominate – you can mix different colors and use any pictures of flowers, foliage, fruit, insects, landscapes, or natural textures for your creative design of the box. As for ideas of what can be done with all those riches you collect there, they literally start springing out of the box the very moment you begin filling it! Better still, you start noticing more things around that deserve a new life or a creative makeover. For example, as seen on this photo, a painted yogurt container and a mug with a broken-off handle are filled with soil to grow small plants, while a shampoo bottle holds some colorful pencils. Here are some more ideas of projects for Earth Day:
Make a tree
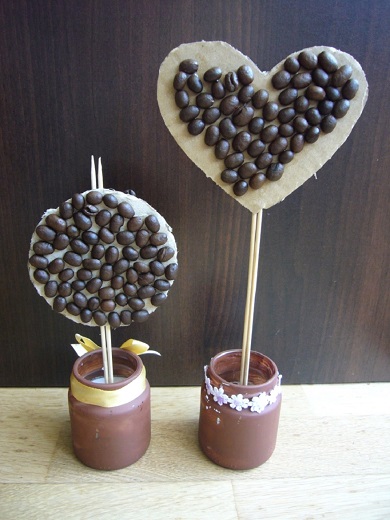
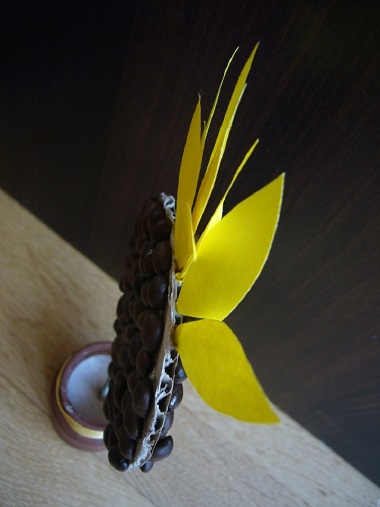
You have probably seen the lovely Coffee Tree decorations made using a cone or a round foam base. These are not easy for the kids to make, but since my son wanted his own coffee tree, I decided to simplify the process. A flat shape cut out of cardboard makes it easier to glue coffee beans on:
The cardboard from boxes that’s hollow inside is perfect for this, as well as for adding other decorative elements by dipping them in glue and sticking them in like this:
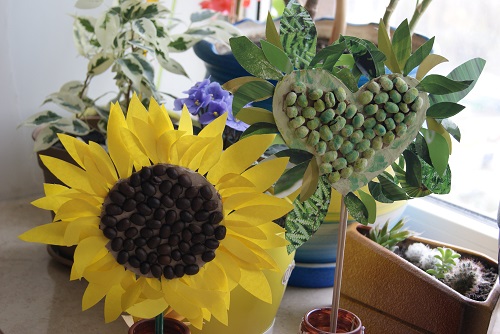
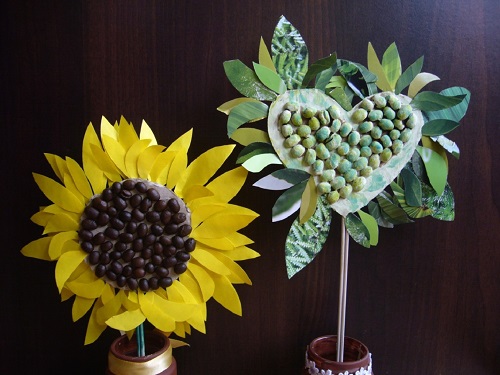
That’s how we made a tree and a sunflower with leaves and petals cut out from yellow paper and scraps of magazines left over from decorating the Green Box:
Some like it in the pot
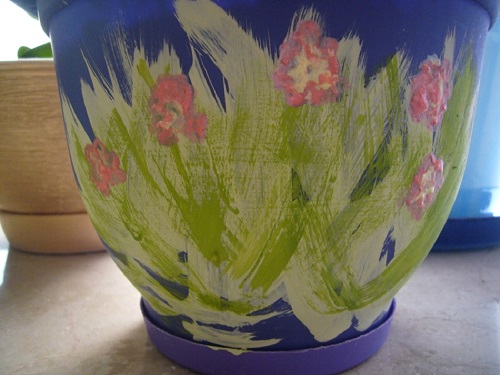
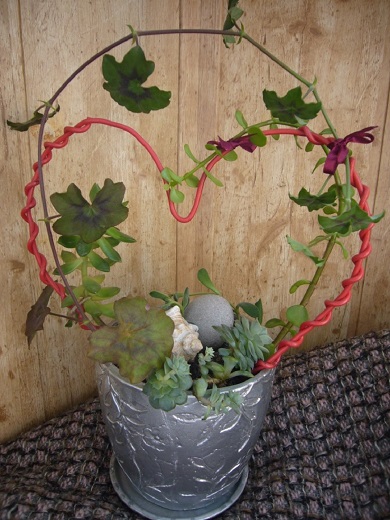
While it would be great to plant trees or sow seeds together in your garden or backyard, you can also experiment with pots or window boxes. Another fun thing to do is to decorate the pots or potted plants you already have at home:
Sponge painting
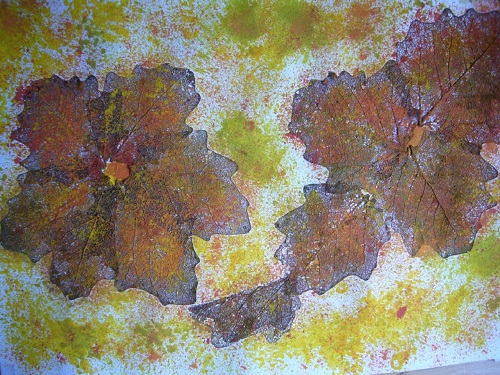
Natural materials such as dried leaves can be used for creating a picture, but these weathered skeletons of leaves that delighted me with their fancy lace texture turned out looking not too lovely when glued onto paper. It was a gloomy black-and-white thing that really lacked some color, and it was disappointing. A piece of sponge is perfect for such situations when you need small or fuzzy color accents on top of something that’s already painted or fixed on your “canvas”. Sponge daubs of different colors made this picture come alive. So keep a piece of sponge in your box – and in case your kids tear a sponge again while playing in the bath, it just turns into something useful for art. Sponge painting is a great technique that’s always fun, at any age!
Would you like to suggest some more ideas for projects involving those “hidden riches” we adults often fail to notice? How do you store and showcase them, what are your favorites and what makes them so special?
Photos: Natalie Gontar
