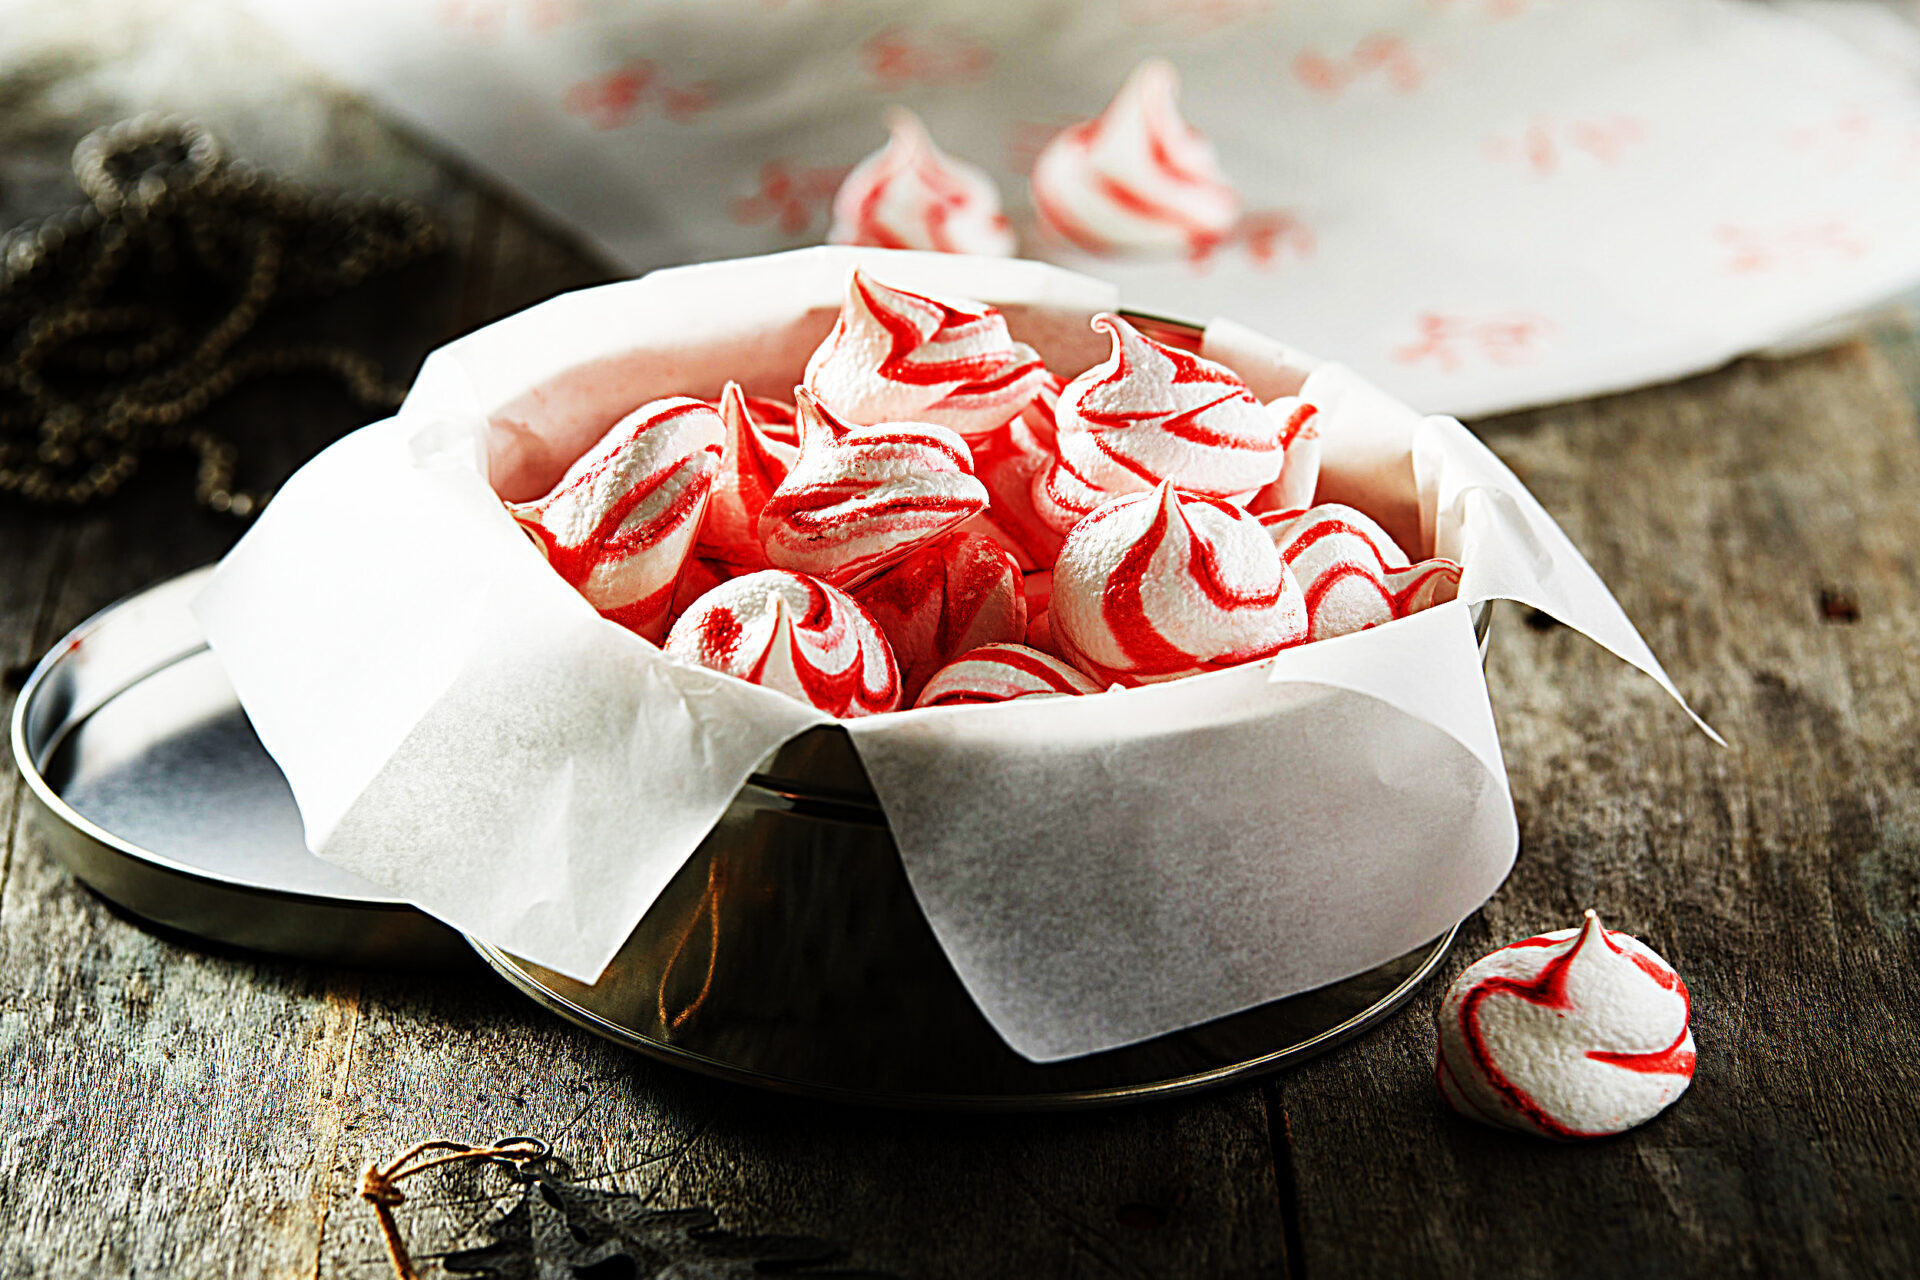
Delicately crisp to the center, these minty meringue cookies are as light as can be. A simple but clever technique for “striping” the piping bag with food coloring gel creates the handsome swirls. In addition to the gel color, you’ll need 2 disposable plastic piping bags (16-inch size) and a fine paint brush; you can get all the supplies at craft stores, specialty baking stores, and online.
Satisfy your sweet tooth with this easy-to-make recipe for Christmas Peppermint Meringue Swirls.
1. Info for Christmas Peppermint Meringue Swirls
- Cook Time: 3 hr 30 min
- Total Time: 3 hr 30 min
- Servings: 50
- Calories: 12.82 kcal
2. Ingredients for Christmas Peppermint Meringue Swirls
- large egg whites
- red food coloring gel
- cream of tartar
- sugar
- vanilla extract
- peppermint extract
3. Directions:
- Put egg whites in a stand mixer bowl or large mixing bowl. Set bowl in a shallow bowl of warm water and let egg whites come to room temperature, about 30 minutes. Meanwhile, line 2 sheet pans with parchment paper and set aside. Preheat oven to 200°F.
- Fold a 3- to 3-1/2-inch cuff to the outside over the open end of a 16-inch disposable piping bag. Put one hand into bag to open up the inside, and then hold bag with the other hand near the base to keep it open. Using a fine paint brush, draw 4-6 fine lines of red food coloring gel inside bag, starting from about 1 inch from tip and extending to near folded edge. (It’s okay if lines get a bit messy.) Set bag inside a tall glass or jar and repeat to stripe a second bag. Pro Tip: If you don’t have a fine paint brush, you can use a cotton swab, though it won’t be as easy to get neat lines.
- Add cream of tartar to egg whites and whip on high speed with a mixer until egg whites are frothy, 20-30 seconds. Continuing to beat on high speed, gradually pour in sugar over 1-1 1/2 minutes (about 1 Tbsp. every 10 seconds) until all has been added. Scrape inside of bowl and add vanilla and peppermint extracts. Whip whites on high speed, stopping to scrape bowl once or twice, until completely straight, stiff peaks form when whisk is lifted from meringue, 6-8 minutes total. (To check, you may need to remove the bowl and beater from the mixer, tap the meringue off of the whisk, then dip the whisk down into the meringue again.)
- Using a rubber spatula, spoon half of meringue into each striped bag. Unfold tops of bags and twist bags closed at top. Snip a 1-inch tip off each bag, then gently massage meringue down toward the tips of bags, working color into meringue.
- Holding a bag straight over and very close to a prepared sheet pan, apply pressure without moving bag to pipe a mound of meringue about 1 1/2 inches wide and 3/4 inch tall; then twist away to create a “kiss” shape. Continue to create mounds 1 inch apart from each other on pan. Repeat with second bag of meringue and second sheet pan.
- Bake meringues on racks in upper third and lower third of oven for 45 minutes. Switch pan positions, then continue to bake until meringues feel firm and dry when lightly pressed, about 45 minutes more.
- Turn off oven and leave meringues in oven for 1 hour. (This ensures they’ll be crisp to the center.) Then set pans on cooling racks at room temperature to cool.
- Serve meringues, or store in an airtight container at room temperature up to 1 week.

