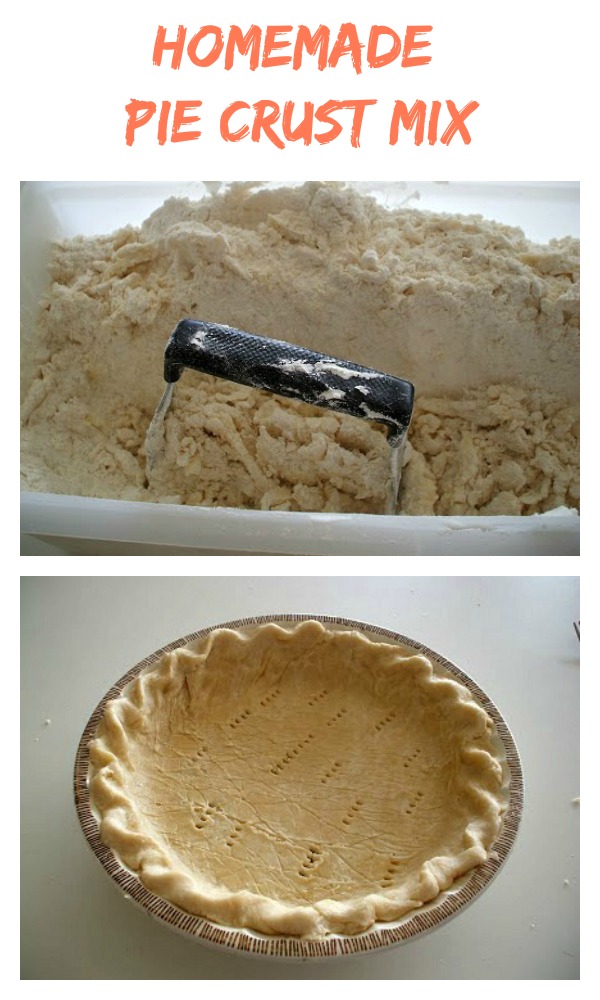
Many of my friends hesitate to bake pie. They are afraid of the crust. It doesn’t take much to cut up apples or stir some pumpkin in a bowl, but pie crust is another story. There is some kind of deep rooted homemaking myth that making pie crust is almost an impossible feat. I want to challenge that idea. The only important rule of pie crust is DON’T PLAY WITH IT!
We have pie so often this time of year, that I make up enough dry crust for 6 or 8 pies at a time. I store it in the fridge in a large Tupperware rectangle (I think it is a bread keeper). I like to combine fats in the crust; butter + crisco or lard. I think it makes a more tender crust. When you are making up the crust, don’t worry about the not playing with it part. That only comes into effect when you add the water and roll it out.
1. Info for Making Up Pie Crust in Bulk
- Cook Time: unavailable
- Total Time: unavailable
- Servings: unavailable
- Calories: unavailable
2. Ingredients for Making Up Pie Crust in Bulk
- 12 cups flour
- 3 tsp salt
- 2 cups butter
- 2 cups other fat (crisco or lard)
3. Directions:
- Combine all with a pastry blender until mixture resembles wet sand.
- Use 2 cups for a 1 crust pie shell, 3 cups for a 2 crust pie.
- I fill up a ⅔ cup full of COLD water and just add it until it looks right.
- You don’t want it to be really wet, like gooey, but it needs to be wet enough to stay together.
- I always stir the water in with a fork.
- Then I give it a quick knead with my hand to gather up all of the little stray crumbs.
- Form it into a ball that is smooth with no cracks.
- You can also use a food processor when adding the water.
- A neat and frugal trick, though, that I recently learned was to roll it out between layers of plastic wrap.
- No flour needed and you can reuse the plastic wrap if you are baking multiple pies.
- Use two sheets on the bottom, side by side, overlapping slightly and then two sheets on the top.
- I use a marble rolling pin.
- I like the heaviness of it.
- I roll the dough in an asterisk motion (up, to the corner, to the side, to the next corner, down, to the next corner and so forth) to get a near perfect circle.
- Peel back the top layer of plastic wrap and invert it in your pan.
- Simply peel the remaining plastic off and Voila! pie crust in the plate without worrying about whether or not it will fall apart on the way from the counter.
- Pinch the edges or use a fork to make a design.

