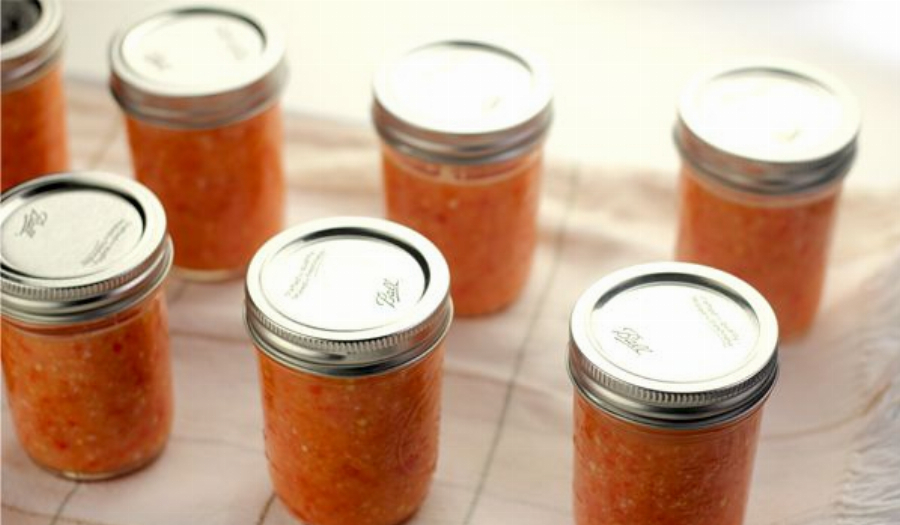
Everyone who likes spicy food and has tasted this sauce says it would sell very quickly. If you’ve followed our family’s culinary adventures, you may know how much Daddy (my father-in-law) loves anything spicy. My husband Lulu planted Habanero chiles in planters last summer and Daddy made several jars so we could enjoy the chiles all the way through the winter. Daddy came up with a very easy but flavorful recipe for chile garlic sauce. Simply combine the same proportion of fresh garlic and Habanero chiles and complete with white vinegar, a touch of salt and sugar.
You can enjoy it as a condiment on the side like Daddy does, or I’ve also added half a teaspoon of the spicy mixture in sauces, dressings and marinades. It adds a pleasant, spicy zing to just about any dish.
1. Info for Habanero Chile Garlic Sauce Recipe
- Cook Time: unavailable
- Total Time: unavailable
- Servings: 5
- Calories: unavailable
2. Ingredients for Habanero Chile Garlic Sauce Recipe
- 10 ounces Habanero chiles
- 10 ounces fresh garlic
- 2-2/3 cups white vinegar
- 2 teaspoons granulated sugar
- ¼ teaspoon salt
3. Directions:
- Note: Don’t forget to wear disposable gloves. And make sure not to rub your eyes after touching the chile peppers.
- Choose fully ripened, extremely red chiles. Wash and pat them dry with paper towels. Trim the stems. Depending on the spiciness, you can remove the seeds or not. Roughly chop them.
- Coarsely chop the garlic.
- I made the sauce in 2 batches so the chiles and garlic fit into the blender.
- Blend the Habanero chiles and garlic in a blender. The mixture should turn into a coarse purée. Add the white vinegar for a smoother flow. Add sugar and salt.
- Fill a large pot of water and bring to just under a boil. Place 5 ½-pint Mason jars, lids, heat-proof funnel and tongs in the pot and boil for 10 minutes. Be sure to read the instructions that come with the Mason jars for exact time and techniques.
- Remove the jars from the water and fill with the chile garlic sauce, leaving about ¼-inch of head space or whatever your canning directions say. Carefully place the lids on the jars using a magnet. Tighten the collar around each jar. Bring your large pot of water back to a boil and place all the sealed jars in it for 10 minutes.
- Remove the jars from the water. If the top of the lid still pops, the vacuum didn’t form and you’ll need to consume the jam in the next couple of weeks, storing it in the refrigerator. Otherwise you can safely store it in your pantry for up to a year.
- Allow to sit at least for a week before opening the jars and let the flavors infuse.
- Voilà!

